Hunting Photography in New Zealand: Filming Tips
Hunting Photography in New Zealand: Filming Tips
New Zealand delivers dramatic country and fast weather shifts. Use this guide to capture sharp images and steady video during your hunt.
Strong hunting photography begins with a plan. The Southern Alps reward patience and timing. This guide covers gear, core settings, shot lists, and low-impact practices so you can tell a clean story from the field.
Plan your trip with Four Seasons Safaris New Zealand and align camera goals with the species and terrain you will hunt.
Gear That Works in Alpine Country
- Camera bodies: Weather sealing helps in wind and mist. Reliable autofocus helps with animals on steep faces.
- Lenses: A 24–70mm covers camp, guides, and landscapes. A 70–200mm or 100–400mm covers glassing and stalks.
- Support: A compact tripod or monopod improves sharpness. A small fluid head helps with pans.
- Audio: A simple on-camera mic improves clarity for narration and short interviews.
- Power and storage: Carry spare batteries in an inner pocket to keep them warm. Use high-speed cards for 4K footage.
Core Settings for Clean Results
- Shutter speed: For handheld stills, start at 1/500s or faster. For video at 25p, use a 1/50s shutter with an ND filter in bright sun.
- Aperture: f/4 to f/8 balances subject isolation and sharpness across the frame.
- ISO: Use Auto ISO with an upper limit that your camera handles well.
- Focus mode: Continuous AF for moving animals. Single point AF for capes, antlers, and detail shots.
- Picture profiles: Use a neutral profile for easier grading. Keep white balance consistent within each scene.
Build a Simple Story From Start to Finish
Strong albums and films follow a clean arc. Capture these beats so the final edit feels complete.
- Arrival: Lodge exterior, gear layout, maps on the table, handshakes with guides.
- Preparation: Zero checks, pack lists, route briefs, weather notes.
- Journey: Tracks, river crossings, helicopter approach, skyline reveals.
- Glassing: Spotting scope silhouettes, hand signals, wind checks.
- Stalk: Boots on scree, careful steps, rests on packs, breath control.
- After the shot: Respectful moments, caping, meat care, pack out.
- Return: Firelight, shared meals, trophy care, notes in the logbook.
For more field planning ideas, visit our hunting blog.
Composition Tips That Travel Well
- Foreground interest: Tussock, scree, and ridgelines add scale and depth.
- Rule of thirds: Place the subject on an intersection and leave look space toward open country.
- Leading lines: Spurs and gullies guide the eye into the frame.
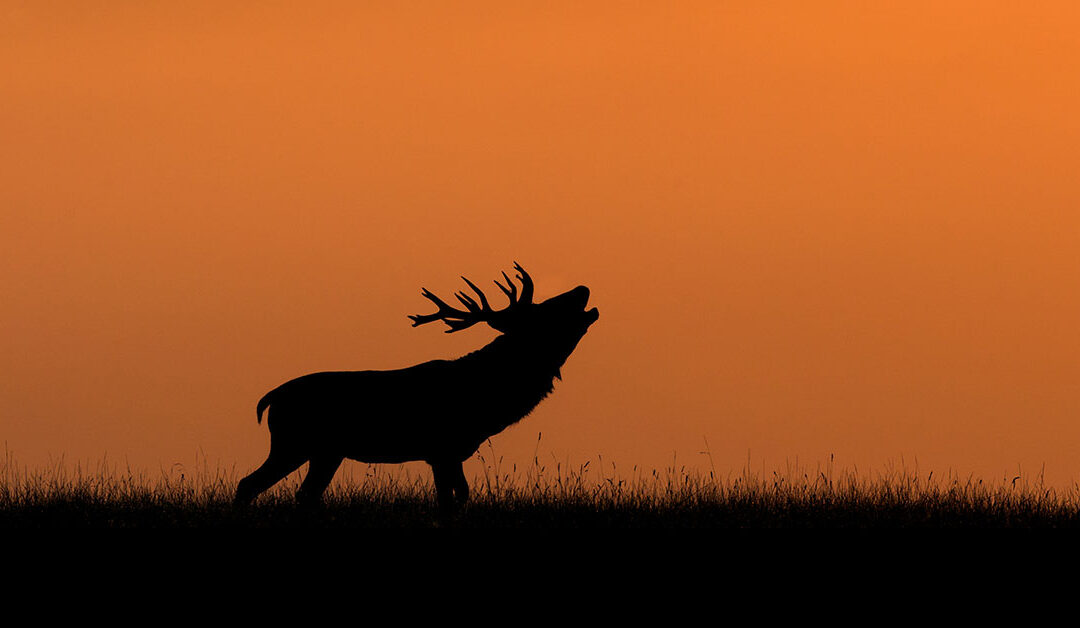
- Light: Use early and late sun for texture on manes and capes. Overcast light helps with detail.
- Stability: Brace on a pack, trekking pole, or rock to reduce shake.
Film Smooth Clips in the Mountains
- Shot length: Hold each clip for at least six seconds. Longer clips help in the edit.
- Move with intent: Slow pans on a tripod. Short push-ins with a monopod. Avoid quick spins.
- Audio notes: Record short scene IDs and wind direction. Shield the mic with your body in gusts.
- B-roll bank: Hands on stocks, rangefinders, topo maps, steam from mugs, stove flames.
Low-Impact Field Practices
- Animal first: The hunt takes priority. Cameras stay quiet during stalks.
- Distance: Use long lenses for close-looking shots without pressure on animals.
- Leave no trace: Stay on durable surfaces when possible. Pack out micro trash.
- Respect the team: Ask guides before filming sensitive moments.
Deliver Images That Stand Out
- Backup plan: Copy cards to a rugged SSD each night. Keep cards in a dry pouch.
- Edit basics: Balance exposure, correct color cast, add light contrast, crop for story.
- Captions: Note species, location, guide name, and date. Short captions help future albums.
- Prints: Choose matte paper for alpine scenes. Large panoramas suit lodge walls.
Plan a Film-Ready New Zealand Hunt
Set goals for images before you arrive. Align gear with terrain and species. Our team helps with routes, light, and safe vantage points. Start your plan with Four Seasons Safaris New Zealand and bring home a story that lasts.
Quick Answers
Do I need a long lens?
A 100–400mm covers most alpine scenes. A 70–200mm works well during stalks.
Can I film during the stalk?
Short clips work if the guide approves. Safety and wind control come first.
What is the best time for light?
Golden hour adds shape to terrain and capes. Midday works on overcast days.